Hello everyone. It's Tool Time Tuesday and you know what that means...something out of the box! I've either used something from a hardware store, an automotive store, used tools to make it or I've dug through the trash to find a treasure. Anything is fair game for Tuesdays even one of my old tutorials.
space
I made a little change to my eyeglass case tutorial and used a drill to do it!!
space
Here it is...My Eyemark!! One more thing you may have notice about Tuesdays are the titles to the post. I try to make up something catchy. Well, Courtney and Kelsie think "Eyemark" is...well, they don't like it.
space
I took an eyeglass case and attached a bookmark, so I think that equals an Eyemark. If I make millions from this some day, my girls are going to be sorry I copyrighted it first, Lol !!!
space
Here it is...a perfect combo to hold your glasses and to hold your page. See tutorial below.

You will need 2 pieces of fabric 4 inches x 13.5 inches. One of the pieces that I used was a pre-quilted fabric for the outside and the other is cotton for the lining. You can quilt your own piece first or use cotton for both. You just won't have the padding like the quilted kind. This pattern is reversible, so pick 2 cute ones.

The extras are: matching ribbon and some doo dads for the end of the bookmark. The doo dads are optional.

Start by placing the fabrics right sides together.

Stitch one short end with a 1/4" seam.

On the other short end, center the ribbon on the fabric.

I rolled up the rest of the ribbon and pinned it so it won't get caught in the seams.

pin to keep ribbon and edge secure.


Now bring both seams to the middle, still with right sides together.

Finger press the seams open...

and match up the seams.

Pin both sides.


Sew 1/4" seam on both long sides, but leave an opening for turning. See my opening on the upper left hand side.

Here's the close up.

I clipped the corners to reduce the bulk.

Turn right side out through that opening. Machine or hand stitch that opening closed.

Now, open up the fabric that you want to be on the outside and start tucking in the lining.

The eye glass case is done, but the ribbon just needs a little jewelry. You can tie on a pendant from an old necklace, or a bead or a special little something near and dear to your heart.

I've picked a thimble...but this is where the drill for Tool Time comes in. If you love thimbles...just look away for this part!

I drill on a block of wood, so I don't go through my desk.

Didn't hurt one bit.

Now to get the ribbon in that tiny hole...

a big needle will do the trick.


Tah dah!!

Tie a knot to secure inside the thimble.

Now that's much better...a little bling or should I say Thimbling. Now that's a name for something...I'm going to use that somewhere!


I started to read this book and the title is so fitting for me right now. I haven't quilted in a while due to time and a crazy schedule. I feel like a "Lost Quilter". I think I need to find myself this summer.

Bookmark...

attached to an eyeglass case equals...

Eyemark! How about imark or seemark, or bookandsee, seebook, booksee, marksee...ok I'm going crazy and the girls are laughing at each name I yell out, so I give up.

I need to go to bed. It's after midnight and I'm slap happy with all these names, LOL
space
I made a little change to my eyeglass case tutorial and used a drill to do it!!
space
Here it is...My Eyemark!! One more thing you may have notice about Tuesdays are the titles to the post. I try to make up something catchy. Well, Courtney and Kelsie think "Eyemark" is...well, they don't like it.
space
I took an eyeglass case and attached a bookmark, so I think that equals an Eyemark. If I make millions from this some day, my girls are going to be sorry I copyrighted it first, Lol !!!
space
Here it is...a perfect combo to hold your glasses and to hold your page. See tutorial below.

You will need 2 pieces of fabric 4 inches x 13.5 inches. One of the pieces that I used was a pre-quilted fabric for the outside and the other is cotton for the lining. You can quilt your own piece first or use cotton for both. You just won't have the padding like the quilted kind. This pattern is reversible, so pick 2 cute ones.

The extras are: matching ribbon and some doo dads for the end of the bookmark. The doo dads are optional.

Start by placing the fabrics right sides together.

Stitch one short end with a 1/4" seam.

On the other short end, center the ribbon on the fabric.

I rolled up the rest of the ribbon and pinned it so it won't get caught in the seams.

pin to keep ribbon and edge secure.
space

Sew another 1/4" seam on this short end.
Now bring both seams to the middle, still with right sides together.

Finger press the seams open...

and match up the seams.

Pin both sides.


Sew 1/4" seam on both long sides, but leave an opening for turning. See my opening on the upper left hand side.

Here's the close up.

I clipped the corners to reduce the bulk.

Turn right side out through that opening. Machine or hand stitch that opening closed.

Now, open up the fabric that you want to be on the outside and start tucking in the lining.

The eye glass case is done, but the ribbon just needs a little jewelry. You can tie on a pendant from an old necklace, or a bead or a special little something near and dear to your heart.

I've picked a thimble...but this is where the drill for Tool Time comes in. If you love thimbles...just look away for this part!
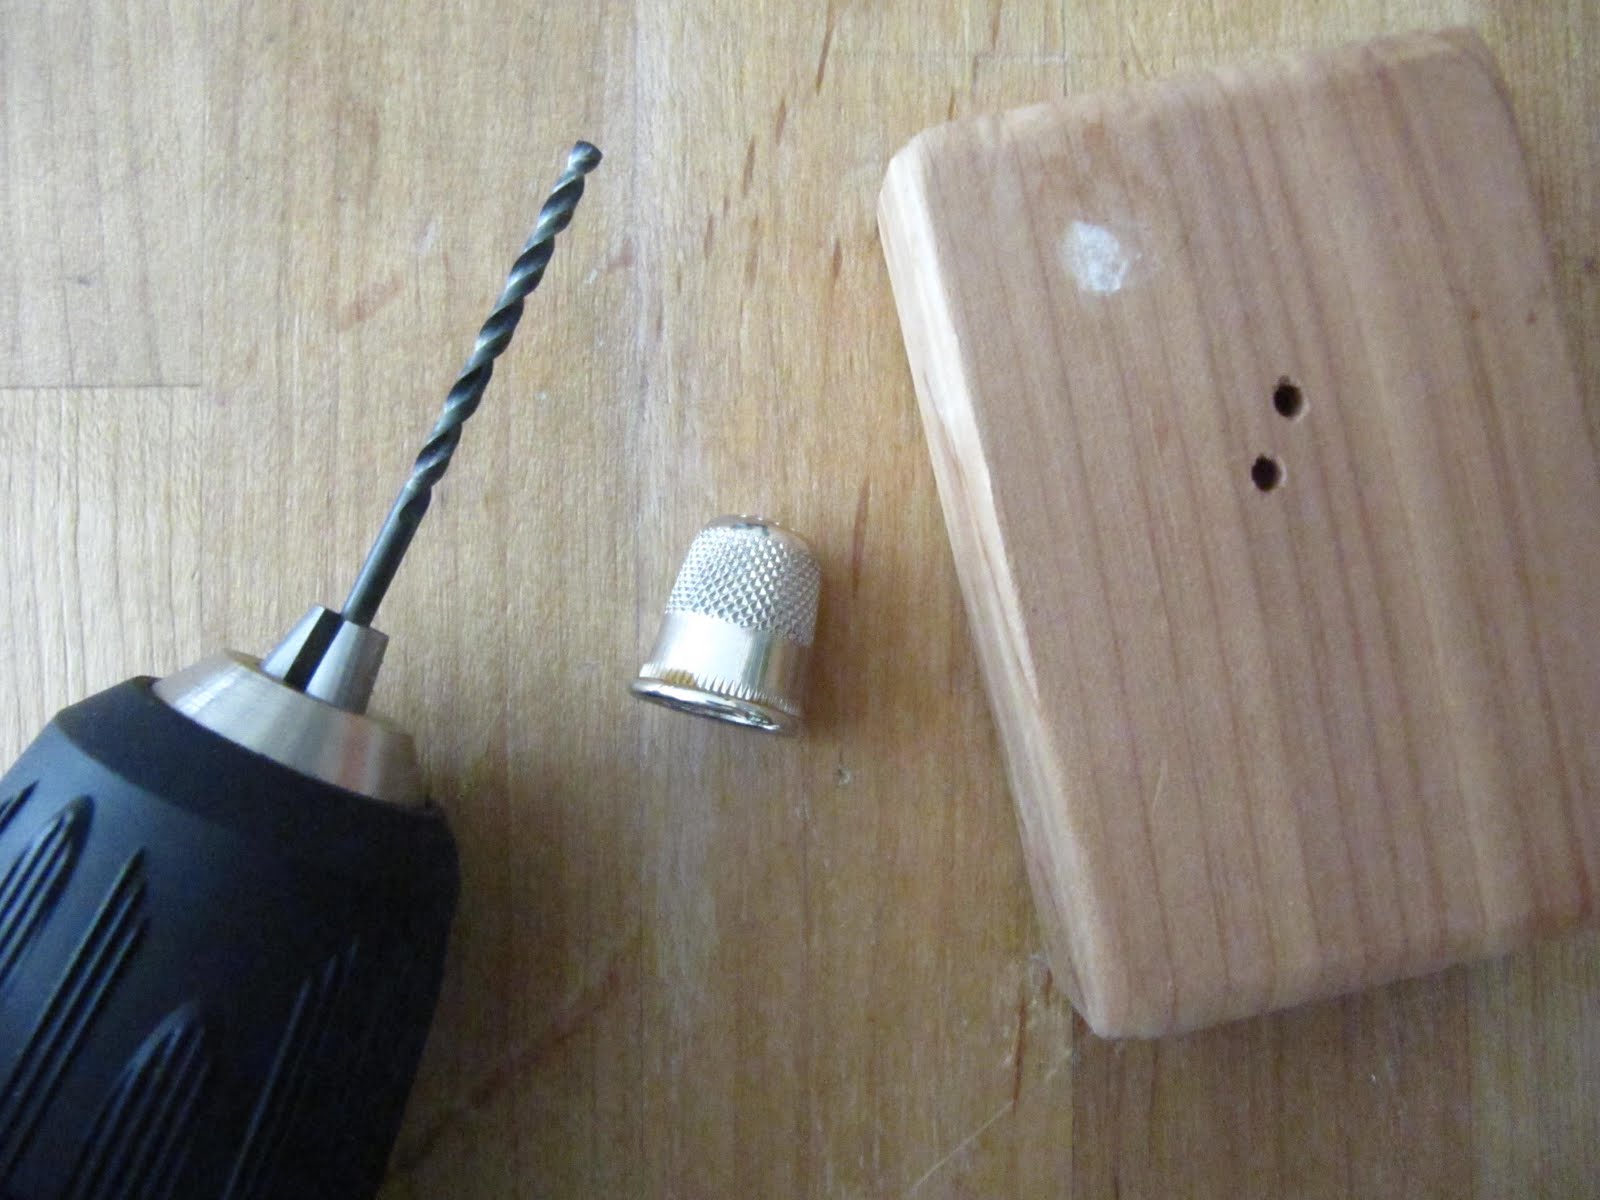
I drill on a block of wood, so I don't go through my desk.

Didn't hurt one bit.

Now to get the ribbon in that tiny hole...

a big needle will do the trick.


Tah dah!!

Tie a knot to secure inside the thimble.

Now that's much better...a little bling or should I say Thimbling. Now that's a name for something...I'm going to use that somewhere!


I started to read this book and the title is so fitting for me right now. I haven't quilted in a while due to time and a crazy schedule. I feel like a "Lost Quilter". I think I need to find myself this summer.

Bookmark...

attached to an eyeglass case equals...

Eyemark! How about imark or seemark, or bookandsee, seebook, booksee, marksee...ok I'm going crazy and the girls are laughing at each name I yell out, so I give up.
space
What do you think? I think I like Booksee!

I need to go to bed. It's after midnight and I'm slap happy with all these names, LOL
space
Have a great Tuesday,
~Karen~
9:13 PM | 0
comments | Read More


